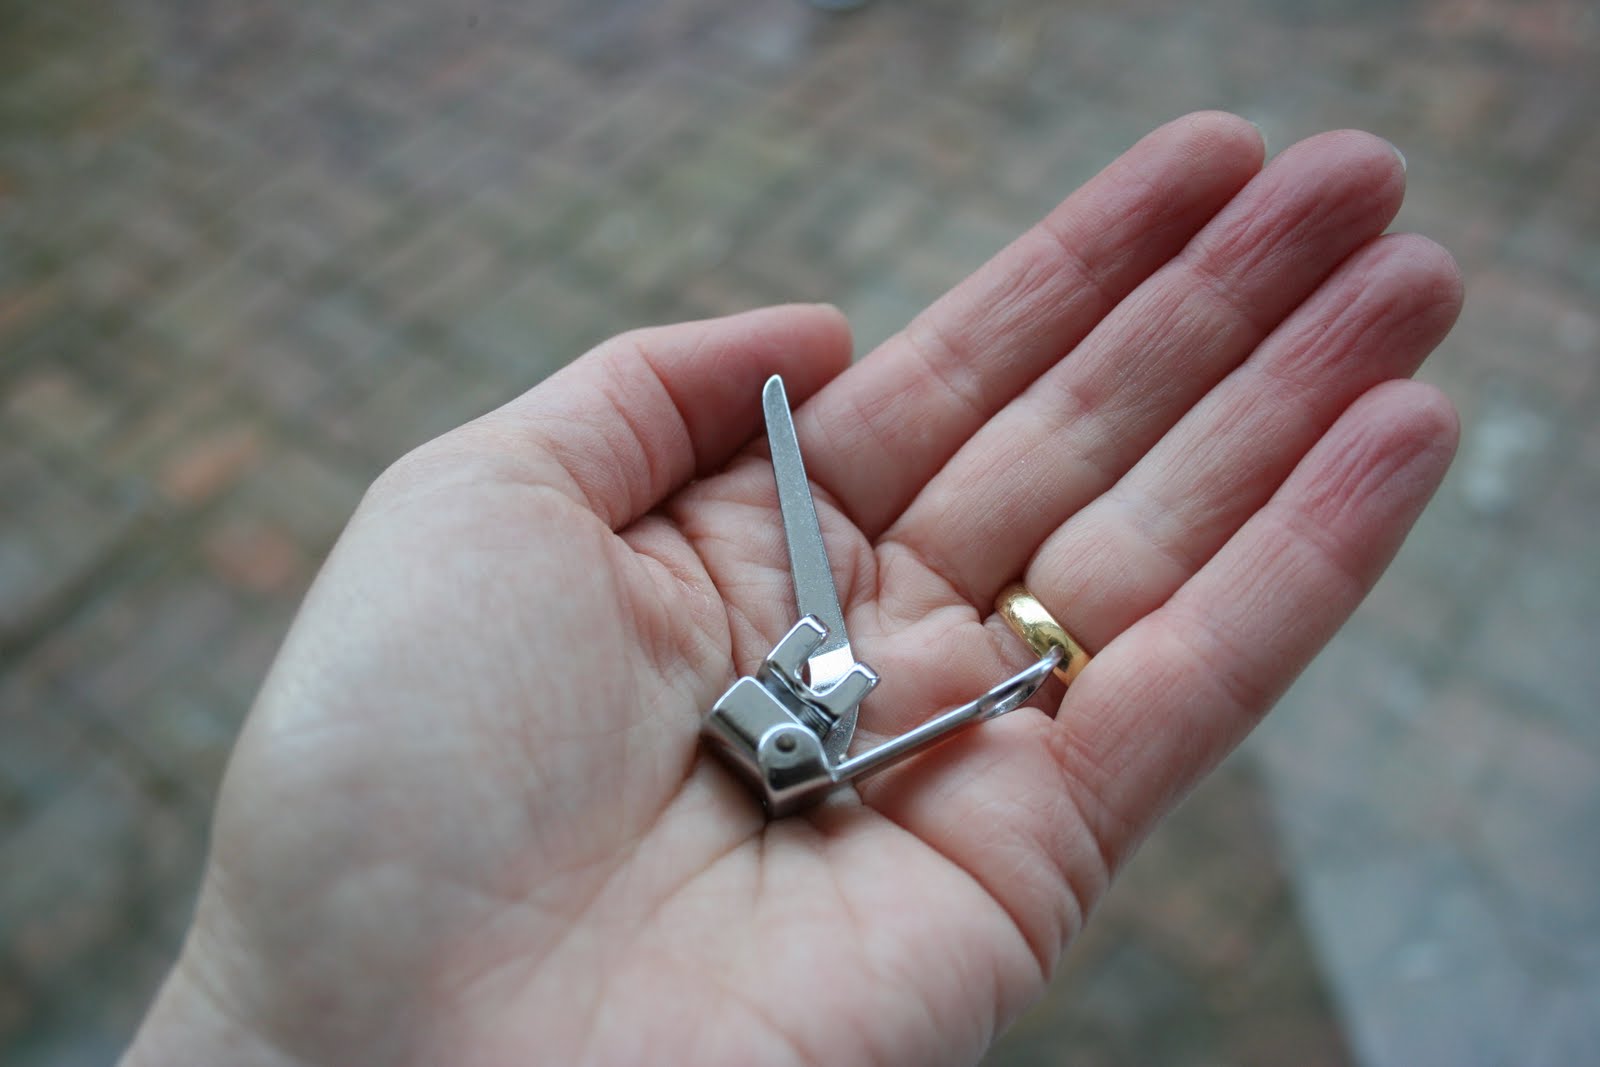
Showing posts with label machine feet. Show all posts

Sunday, 5 February 2012

Satin Stitch Foot

This is a really quick one because there's not much I can say about the satin stitch foot.  It's a clear see through foot which helps when sewing applique because you can see where you are sewing.  It also has a bevelled bottom so that when you are sewing satin stitches it allows the bulky stitching to pass under the foot easily.

Hopefully this picture helps you get the picture, so to speak!


Coming up next the walking foot tutorial, maybe even a vid with that one I think as you really need to see it in action a bit like my earlier post about the ruffler foot!

Happy Sewing

Keri

Pintucks / Blind Hem Foot

So this is a little dinky post to show you one way to use your blind hem foot.  Not the proper way, but a novel different way that I just found out about before Christmas.  It's a monkey to explain how to fold the fabric to use your blind hem foot to make, well, a blind hem, so whilst I think about how to do that for you here's a little secret...............................you can use it to make perfect pintucks!

The picture above tries to illustrate what you can do.  It's a hard one because they are such teeny tiny delicate little pintucks they are almost invisible.  I have shown the 2 pintucks, next to a line of straight sewing in the hope that this would help to distinguish them.  I think in reality the only way to really see is to sew some. 

So here's how it works.  The blind hem foot has a little black guide in the centre and a little hole that the needle goes into, which is millimetres away from the edge of the guide allowing you to sew a perfectly straight miniature channel!  I found it best to mark your fabric where you want the pintucks to be, fold your fabric on that line, place it under the foot against the guide and then off you go, creating your perfect litttle pintuck.

Happy Sewing

Keri

Saturday, 4 February 2012

1/4" Inch Seam Foot


Wow that sounds exciting doesn't it! Not!  1/4 inch seams! The reality is though that this is one of the feet that I use the most.

This foot is brilliant because what it does is leave you with a perfectly even 1/4" inch seam/hem.  I love to use it when hemming garments and it does leave a much more professional look to all items if you have a perfectly straight line!  Brilliant for topstitching on items too. 

The foot had a black metal guide on it's right hand side and you simply place the edge of your fabric against this edge and sew!  Simple as but oh so effective!

Happy Sewing

Keri

Saturday, 24 September 2011

Zipper Foot

You guessed it by the title it's time to look at another machine foot - this time the Zipper Foot. 

Fellow blogger Caroline from Redneedle Sewing did a wonderful guest post on Free Motion Embroidery for me and has kindly agreed that I could link to her Zipper tutorial which is as good as anything I'd be writing if not better!  This is great news as it leaves me the chance to get on with the last few feet tutorials (the overlocking foot, satin stitch, walking foot and maybe even the blind hem one too)!

The link to Caroline's tutorial is here - one of the things she suggests is a continuous zipper which you buy on a roll along with a set of sliders and I can thoroughly recommend.  Zips open up a wealth of opportunities - here's a couple of things I've completed recently with one.  The dress would just not look finished without the added zip and a zip means less fabric is required when completing a cushion (when compared with an envelope cushion) which is great news for profit margins when selling!


Have Fun Zipping, I'll 'Zip it' now and hand over to Redneedle Sewing, thanks Caroline!

Keri

Monday, 19 September 2011

Ruffler Foot

It's that time of year when I'm busy busy sewing ready for all of those Autumn and Winter fairs so I have just a quick half hour for a tutorial and thought I'd show you the ruffler foot. 

Mine looks like this - scary hey!  Hopefully by the end of this post it won't be.
 

The basic premise is that you feed your fabric into the ruffler foot with the fabric under the foot (directly under the needle) but also under the ruffling blade!  Sounds complicated I know... I'm trying to make it as simple as possible and am hoping that between the photos and video below it might help.

SET UP
There is a great link here which tells you all about how to attach the foot and what each of the parts does - here's a drawing of the foot for reference.
 
Step 1 - Thread your needle - seems like an obvious comment but this foot is BIG and it's a real fiddle to thread your needle once the foot is on.

Step 2 - Lift your presser foot and needle to the highest position then clip the ruffler foot to the machine presser foot holder (as with other feet) making sure that the black curved clamp (mentioned above as the fork arm) is over the needle clamp screw. 

Step 3 - Make sure that you can put your needle down clearly through the hole and if you can't then there are two screws towards the back of the foot (they are the little round things on the diagram near the 'fork arm' label) which you can loosen then wiggle the foot around until the needle fits.

Step 4 - Decide how many ruffles you want and how much fabric you want to be included in the ruffle (I think the best way to do this is to have a play though if anyone knows of some technical calculation feel free to shout up.  For the dresses I have been making and my little ones pumpkin outfit I wanted a mid range of gather so moved the 'ratchet gear feed plate' to 6 (one gather every 6 stitches) 1 gives really frequent gathers and 12 wide apart gathers.  Next I adjusted the 'ruffling depth adjustment screw' to 4 in order to gather quite a bit of fabric in the ruffle.

SEWING
A couple of tips before you start to sew. 
1. If you have had to loosen the screws to fit the needle then make sure they are super tight.
2. Make sure your needle is really tightly clamped in (see my funny pic at the end of the tutorial for what happens if you don't).
3. Make sure that you have plenty of fabric ready to feed, as this foot really 'grabs' the fabric and rushes it through - hopefully the video further down will give you a view of this.

Step 1 -  Slide your fabric under the foot (in the needle area) and then between the bottom foot plate and the ruffling blade (which I called the forked prongs).  The picture below shows the forked prongs are back.  I've used a sheer fabric to help you see where it fits in relation to the foot.


Step 2 - As you sew the forked prongs begin to slide forward taking the fabric with it.


Step 3 - Very quickly the gather is pushed under the needle and hey presto a ruffle!  The first picture below shows the gather under the needle with the forked prongs forward and the second shows completed gathers (I used a heavier fabric for this as the ruffles aren't as clear on the organza).


I have also done this little video which I'm really hoping works to give you more of a feel of how it looks (and sounds - loud) in motion!


I hope this helps but any questions feel free to e:mail me or post in the comments section.  I'm still working with it and have just completed my first couple of projects so here's one of them!  Also as promised here is the picture of what happens if you don't make sure your needle is screwed in really tightly - how on earth it got there I honestly don't know!


And this is what I'm planning on doing next because I can't seriously believe there is £50 of frou frou in there!- http://www.angels-face.co.uk/cgi-bin/trolleyed_public.cgi?action=showprod_MAGENTA

Happy Ruffling

Keri

Thursday, 18 August 2011

Guest Blogger - Redneedle Sewing - Free Motion Embroidery

Today is a special day as I have a guest bIogger!  Caroline from Redneedle Sewing has kindly agreed to do a post on Free Motion Embroidery - her work is amazing and I'm asolutely delighted to have her feature on my blog today.  Happy Reading and Thanks again to Caroline.
__________________________
I was absolutely thrilled and yes a bit surprised when Keri asked me to do this guest blog. I have so enjoyed her machine feet tutorials and have found them genuinely interesting and helpful. So I was flattered when she asked me to talk about the darning/embroidery foot and how it can be used for Free Motion Embroidery (FME).
First of all ladies I must let you know that I am no expert, just someone who has discovered FME in the last 12 months and has so enjoyed experimenting with it.  I’m still learning and so far have really only used it for fabric collages and raw edge appliqué, although I’m beginning to dip my toe into a little ‘free motion artistry’ as the scraps of fabric at my feet are testamount. That’s the first thing make sure you practice, practice, practice.
You do not need a super duper multi-functional modern technical machine to do FME. Your machine needs to have a drop feed facility, where at the flick of a switch or pull of a lever you can lower the feed teeth on the machine. Or if you’re like me with my trusty old Singer I have a little plastic feed cover that I can place over the teeth. Whichever method you use will prevent the teeth from gripping the fabric and allows you to pull your fabric this way and that to your heart’s content. Your instruction manual should explain more.

Darning/Embroidery foot
Obviously choose the one that is going to fit your make of machine. I know some people don’t like to use a foot (more of that later). I do because it helps to ‘hold’ the fabric a bit and I feel it gives me more control. I have two feet. I thought I would prefer the transparent foot but actually it’s the other that provides better visibility of my work as I’m sewing along.

Taut fabric.
You will get the best results from FME by keeping your fabric taut, I have experimented with a variety of ways.
a)      Embroidery hoops
Ensure the tension is spread equally over the fabric and allows you to move your work around more easily as you sew also ensures your fingers don’t get too close to that needle. I used this method when making my cosies. However if using a small hoop the embroidery foot can limit you in terms of space and it might be best to dispense with it altogether in this case.
b)      Stabiliser.
Ironing interfacing to the back of your fabric provides a really good stabiliser and it eliminates the need for an embroidery hoop. It can be a little more tricky to move around but you soon get the hang of it. I’ve been using this method to make my needle cases.

If your fabric has quite a tight weave you may feel confident enough to just go for it without a stabiliser or embroidery hoop.
Whichever method you choose be aware that there will be much sticking out of tongue as you merrily sew away.
Actually doing the sewing bit.
Now this does take practice.
Attach your foot to the machine.

Make sure your stitch length is set to zero and stitch width is on running/straight stitch (to start off with anyway, you may wish to experiment with stitch width as you become more confident and you want to play with the types of effects you can achieve)
Tension, I set mine to about 3 or 4, but this will change according to your machine and the kind of fabric you are using, practice on scraps first to get the feel of it.
Drop or cover your feed teeth.


Position your fabric at the place you wish to start and draw the bobbin thread through to the front of your work.
and sew........
It takes some getting used to the fact that you can pull your fabric this way and that but it is so liberating and most of all great fun. You will achieve the best results if you keep an even, quite fast pace on the throttle whilst moving your work around slowly. Think of it as drawing a picture with your needle. If you like neat rows of stitching this may not be for you as I think the more messy the stitching is with this technique, the more pleasing the effect. When you’re feeling really brave you can try writing with your needle – now that IS fun!
Please remember to keep your fingers away from the needle using this technique, use a seam ripper or such like to hold the fabric down close to the needle not your precious digits.


You should get some pleasing results.


Good luck, it would be great to hear from any of you about any tips you may have or just thoughts about FME in general. Enjoy it!
________________________
So.....have fun, hopefully Caroline has inspired you as she did me (I've got about 10 half done projects on the go)!
Happy Sewing
Keri


Thursday, 28 July 2011

Overlocking Foot

Here's my short and sweet tutorial on my overlocking foot.  This creates a lovely tidy raw edge and gives homemade items a professional finish.


 Don't forget you will need to find the right setting on your machine
 and change your tension before you start to sew
So many feet so little time.  Coming up next ..................I guess I need to go away and work out which foot to show you next!

Happy Sewing

Keri!

Wednesday, 27 July 2011

Rolled Hem Foot!

So next in my set of machine feet tutorials is the rolled hem foot.  This creates a lovely teeny tiny hem which is great for hems on children's clothing, perfect for sleeves and a lovely finish on napkins and tablecloths.


Hope all makes sense but if anyone has questions as always please feel free to contact me!

Coming up next the overlocking foot.

Keri


Friday, 10 June 2011

Bias Binding Foot

I love my sewing machine and more importantly I LOVE how using different feet makes life easier!  So for my second 'sewing machine foot' tutorial I have decided to take a different approach.  After a long winded buttonhole foot tutorial, which I felt was maybe too wordy for people to enjoy, I decided to think about my favourite tutorials and why  they worked.  One of my favourite tutorials ever is the butterfly dress by Kelly at Sewing in No Mans Land.  Why........?  It's basically a set of photographs with the instructions on each photograph, simples (as the meerkats would say).  Kelly is an amazing photographer, so I can't by any means say that this will work as well, but I'm going to give it a go and welcome any feedback. 

This is what my bias binding foot looks like, you'll get a closer look as we go through the tutorial.  These are about £13 for my Janome and I'm sure will be a similar price for other brands.  The basic theory seems to be a channel through which you can feed the fabric and binding.


I hope this was easier to follow than my earlier buttonhole post - feel free to comment.  I'll leave you with my top 3 reasons why, for me, it's worth every penny of the £13!

1. I sew quite a few aprons for selling at craft fairs and now instead of pinning the binding (20 mins) and then sewing it removing the pins as I go along (20 mins), I can simply feed it through and be done in 15 mins!

2. The finish is so much more professional than my previous attempts - though you do have to focus when sewing round corners.

3. With the typical double fold binding the idea is you sew the back fold first then re-sew (which I never did).  The binding foot eliminates a step from the process and always seems to ensure that the folded portion of the tape is enclosed within the stitches.

Happy sewing!  Next foot to feature will be the rolled hem foot which is coming very useful for all those summer dresses right now!  I'm also really interested to try the freehand embroidery foot and ruffler foot which the kind Janome salespeople threw in with my new machine (after a small amount of bartering on my part)!

Keri


Tuesday, 3 May 2011

Cute as a Button

Search the internet for button and you’re likely to end up with pictures of Jenson Button the Formula 1 racing driver, which is not an unpleasant view though not much help if you want to learn how to sew one onto a garment!  Search for Buttonhole and you end up with a plethora of wedding sites! 
I searched good old Wikipedia to learn a little more about the background of buttonholes and found out that:
Buttonholes for fastening or closing clothing with buttons appeared first in Germany in the 13th century.However it is believed that ancient Persians used it first. They soon became widespread with the rise of snug-fitting garments in 13th- and 14th-century Europe.
Traditionally, men's clothing buttonholes are on the left side, and women's clothing buttonholes are on the right. The lore of this 'opposite' sides buttoning is that the practice came into being as 'women of means' had chamber maids who dressed them. So as not to confuse the poor chamber maids, the wealthy began having women's garments made with the buttons and holes 'switched'; the birth of the modern ladies' blouse.

So, enough of the background onto the real work.  The Sewing Directory had asked for guest bloggers to help with tips and techniques and so (as I have been sewing plenty of buttonholes and buttons lately) I thought it might be helpful to pass on my technique and also some links to others who have great skills in creating them by hand also!

When I got my first machine last year I was overwhelmed with the multitude of attachments that arrived and so have been slowly learning the techniques required to make the best use of them.  One particular attachment was a sliding buttonhole foot!  I didn’t have a clue what to do with this but my instruction book was quite clear so if you have a foot that looks like picture 1 below here are my tutorial steps to help you both sew a buttonhole and a button.
Step 1 - First you will need to look for a setting that looks something like picture 2 below.   Most modern machines will have some kind of setting that helps with buttonholes but don’t worry if yours doesn’t, just skip to the bottom of my post and there are some useful links for creating a buttonhole on a machine without a specific setting and also by hand.
Picture 1
   
Picture 2
 
 
Step 2 - Following your sewing machine instructions affix the sliding buttonhole foot and thread your machine as you would for usual sewing. 
Step 3 -  Measure your buttonhole on your fabric.  I usually do this by putting my button on the fabric (next to where I want the buttonhole to be) and drawing an I shape
Step 4 – The sliding buttonhole foot should have some kind of markers on it to help you with sewing your buttonhole.  As you can see from the picture below my markers are on the left of the foot and are red.  Place your fabric under the buttonhole foot and slide the foot so that the top arrow is aligned with the top of your I and the bottom of your I is aligned with the bottom red marker


Step 5 – Set your button to the buttonhole setting according to your manuals instructions.  For example with mine I turned the length dial to the centre of the rectangle as indicated below.


 Step 6 – Set your stitch dial to the number 1 as per the above picture.  Ensure your needle is in the left position  and put the needle into the fabric (as per picture 3 below) then begin to sew slowly.  You will sew a long row of quite tight zig zag stitches  - make sure you stop when you reach the bottom red marker.

Step 7 – At the bottom of your first row of stitches lift your needle out of the fabric and move your stitch dial to the number 2/4 setting.  Sew 5/6 stitches on this setting and this will be the bottom of the buttonhole.

Step 8 –Lift your needle out of the fabric, ensure that it is in the right hand position and move your stitch dial to the number 3 setting.  As per step 6 begin to sew slowly creating the right hand side of the buttonhole.   Stop when your arrow reaches the original red mark (as per picture 4 below).

Picture 3

Picture 4

Step 9 –Lift your needle out of the fabric and ensuring it is in the right position move your stitch dial to the number 2/4 setting.  Sew 5/6 stitches on this setting and this will be the top of the buttonhole.    Lift up your foot and remove your fabric (picture 5), cutting the threads so there is enough room to tie the threads together for a final bit of security.

That’s the hard part done!

 Picture 5       


Picture 6

Step 10 – Put a pin across the top of the buttonhole and insert your seam ripper in the bottom of the buttonhole (picture 6).  Carefully slide your seam ripper up the buttonhole, using the pin to protect the top of the buttonhole and create your opening.  Depending on your type of fabric you may have little frayed bits of fabric inside your buttonhole, carefully snip these away to make your buttonhole neat but ensuring you don’t catch any of the stitching.

You have now created your buttonhole!  Below is a picture of the finished article which was for an apron I had been making along with a few of the projects I have been making recently using the above 10 easy steps, a dummy/pacifier clip complete with sparkly button, a cute little purse and a fab summer dress.  The World is your oyster now as there are so many projects that can be finished professionally with a buttonhole.

<><><><>
<> 
<><><><>
<>


As I promised above I have also included some links at the foot of this post  for a number of other buttonhole related articles covering links such as how to create a buttonhole by hand and how to create a buttonhole on a machine that doesn’t have a specific setting.  I hope these are useful and you find the steps above leave you feeling brave enough to have a go – good luck.  If you would like to read a little more about my adventures in sewing and crafts you can visit my blog by clicking on the Bella Boutique picture below
Keri
Normal Buttonhole and corded buttonhole -  http://sewmamasew.com/blog2/?p=846

Want to read more................

Click on older posts above to read more posts